Whatever the weather is doing right now, you can be sure that at some time in the next few months it’s going to warm up.
British summer has a habit of catching us out. One week it’s freezing temperatures, rain and hail, the next it’s 28 degrees and everyone wants a barbecue!
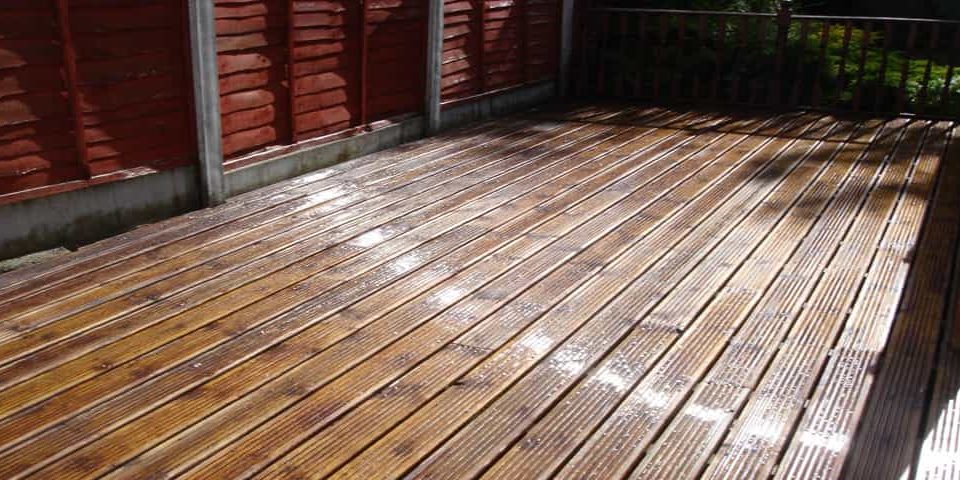
If we’ve got decking, then we also have the perfect place to entertain.
A BBQ, a table and somewhere to put the beer is all you need, but is your decking ready?
Has it suffered during the winter? Will it delight or embarrass you when friends come round to enjoy the summer sun?
Well, we’ve got the perfect guide for you below to make sure your decking is in tip-top condition and won’t let you down mid-party.
1) Clear the decks!
There’s no point in trying to repair or clean your decking if you’ve still got equipment, chairs, and tables on it.
So, take the plunge and move everything off all the decking area to make sure you have a completely clear view of everything and full access to every corner.
Once you’ve cleared everything, take a stiff brush and brush away any debris, moss or dirt so you can see all the wood.
2) Check the structure

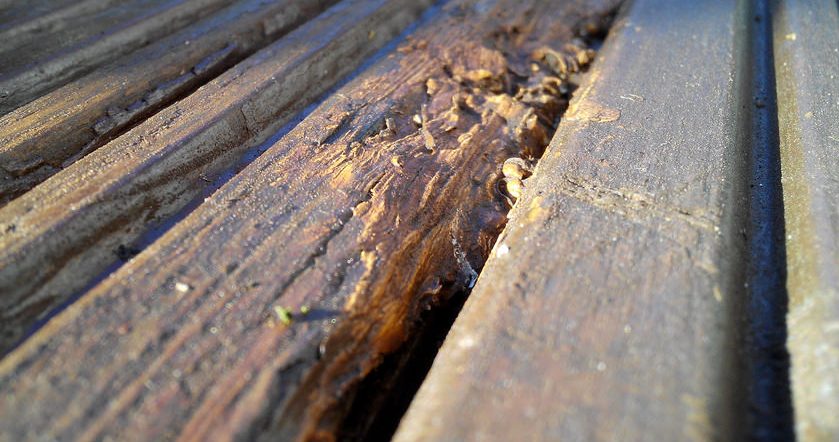
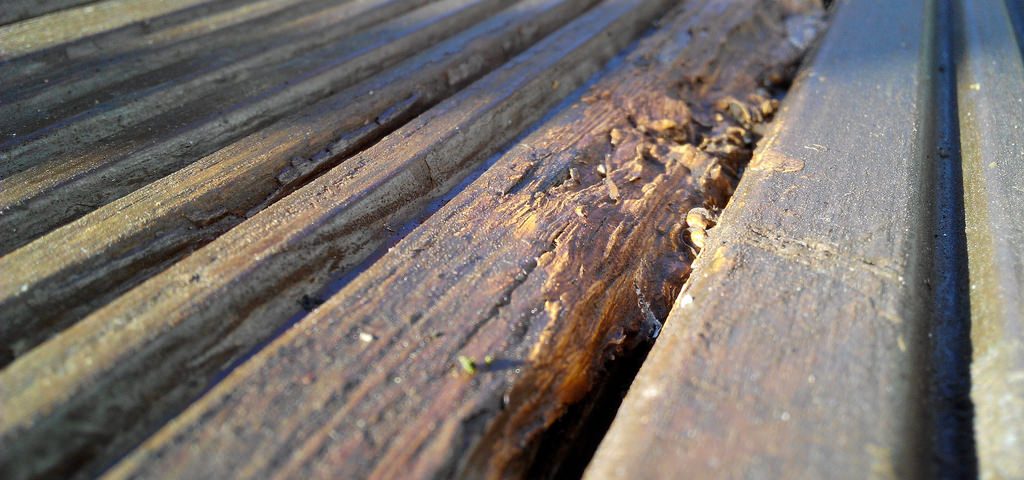
Most decking is raised at least a little bit, and as it’s wood, it’s likely to suffer from rot if draining isn’t great or if the winter has been particularly harsh.
This means you’re harbouring a potential trip hazard, or worse, someone could put their foot through it and send their beer flying. Not pleasant.
Check every inch of the deck and make sure it’s completely solid.
As you press down, check there’s just a little bit of travel. If the wood moves more than it should, check all of the screws or nails to ensure a solid fixture.
If you notice the wood is a little soft, dig in with a screwdriver or key, just to see if rot has taken the whole piece, if it has, it’s time to replace it.
Another issue is where your guide rails are attached to the decking.
Railings are where people are likely to lean when relaxing, so it’s essential they’re solid.
They’re usually sunk into the ground with concrete, so check there’s no movement and where they attach to the main decking, ensure all screws are solid. Tighten any that need it, replace any that are rusted away.
3) Jet wash
If you have a jet wash, this is the perfect time to use it!
Crank it up to full power and zap the dirt away.
This is often a very satisfying way to spend a day, as you’ll see the dirt blasted away from the decking before your eyes, but, if it starts to get boring, you might want to consider investing in a patio washer.
These are attachments that cover a wider area and will get the job done quicker – assuming you’re OK with the expense.
Check out the muddier sections of the deck and pay particular attention to them. Also, make sure you get all the mold up, which can be particularly slippy, especially in the wet.
4) Elbow grease
The cleaning isn’t over yet, it’s now time to get on your hands and knees and start scrubbing!
You’ll need a bucket and some soapy water, or even better, nip to your DIY shop and get some ready-to-use decking cleaner.
Now, if you’re using deck cleaner, you should read the instructions carefully and make sure you use it correctly.
Most commercial cleaners are fairly safe to use around pets, but check if you need to take any special precautions.
Also, some are really easy to use, just pour on and wash off after a while, saving you any effort.
But, assuming you haven’t got such luxuries, grab your soapy water and start scrubbing.
You can use a hard bristled brush if you like, just make sure to get to all the normally hidden parts of the deck.
When you’re done, give it a final rinse.
5) Dry, and inspect
Now, when the decking is wet it can be hiding all kinds of stains still.
So, leave it to dry completely. To speed it up, use a soft-bristled brush to push as much water off the deck, but then just let it air dry.
When it’s ready, inspect again and look for areas that might have suffered staining.
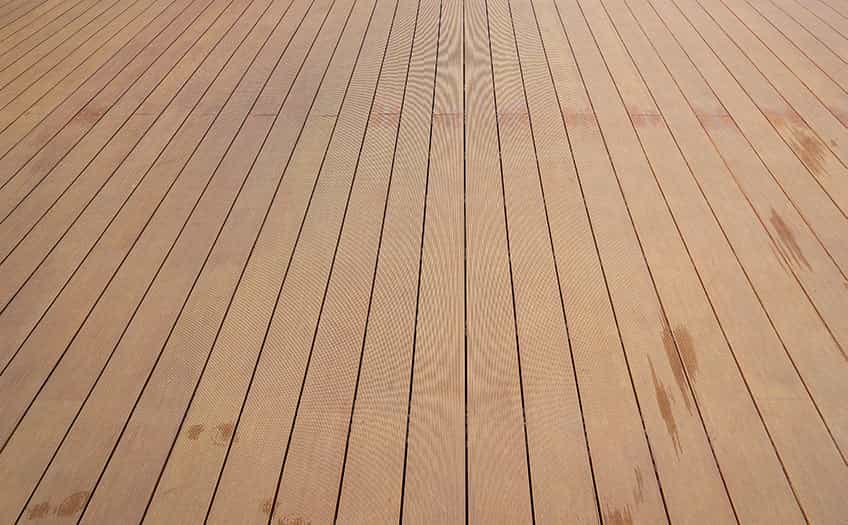
Look especially where table or chair legs would have been and also look for food and grease from the BBQ.
At this point, you probably need something a bit more potent, so try a very weak bleach solution (1 part bleach to 5 parts water) and rub this on the stains. Don’t leave for too long, then wash off completely.
6) Finally, it’s time to reseal
You’ll need a commercial sealant for this, so seek one out from your local DIY store and use as per the instructions to make sure your decking retains its looks in any weather.
Can’t be bothered with all that?
Of course, if you want to make sure your decking is cleaned to a professional finish, give us a call today!


